Related Posts


So, suppose you have decided to grow yourself, what do we need to grow our own? Here is a convenient single strategy from start to finish, with a few slight variations to help those on a budget or with specific grow space requirements.
Growing Medium
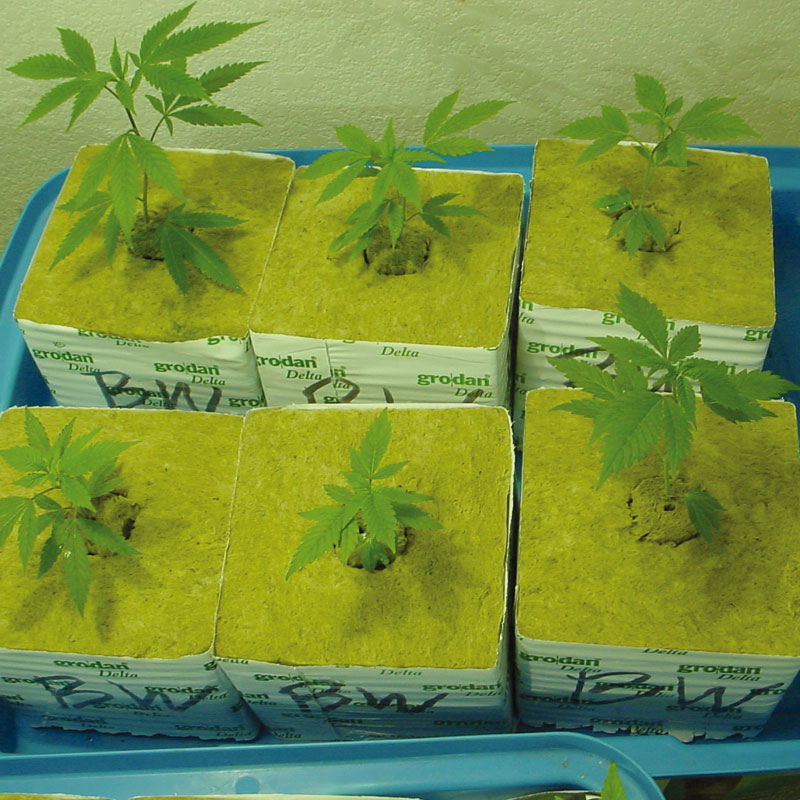
Rockwool Cubes
Rockwool propagation cubes are an excellent item for nurturing your plant through the early stages of growth. There are several sizes, with the idea being that you start with the smallest and add that to a bigger cube once the seedling has had 10-14 days to grow into the initial cube. Before use, it’s wise to soak the cubes in water for 24 hours to ensure they’re sufficiently moist and any ammonia has been released from the water.
Legality
Check that you’re comfortable with the risk (if you live somewhere where it’s illegal), and ensure you know the local laws.
Seeds
One problem with seed banks is some may have poor quality control, and you might get old or degraded specimens, so ensure you start off on the right foot with the best possible genetics.
I recommend buying feminised seeds, as this will save any hassle and wasted energy in growing males which then have to be destroyed.
Grow Tent
The main thing to consider is headroom and the quantity of plants. Ensure that your tent is at least 1.5m tall, unless you are happy growing auto-flowering strains or want to use a sea of green or scrog method. For just a single plant you can get away with a 1m (L) x 0.75m (D) tent, but for 3-5 plants you might need that to be 1.5m (L) x 1m (D) x 1.5m (H).
Hydroponic System
Though this depends on how many plants you wish to grow, and how automated you want your system, the budget option is to go for a deep water culture “oxy” pot. These work perfectly and require very little effort to set-up.
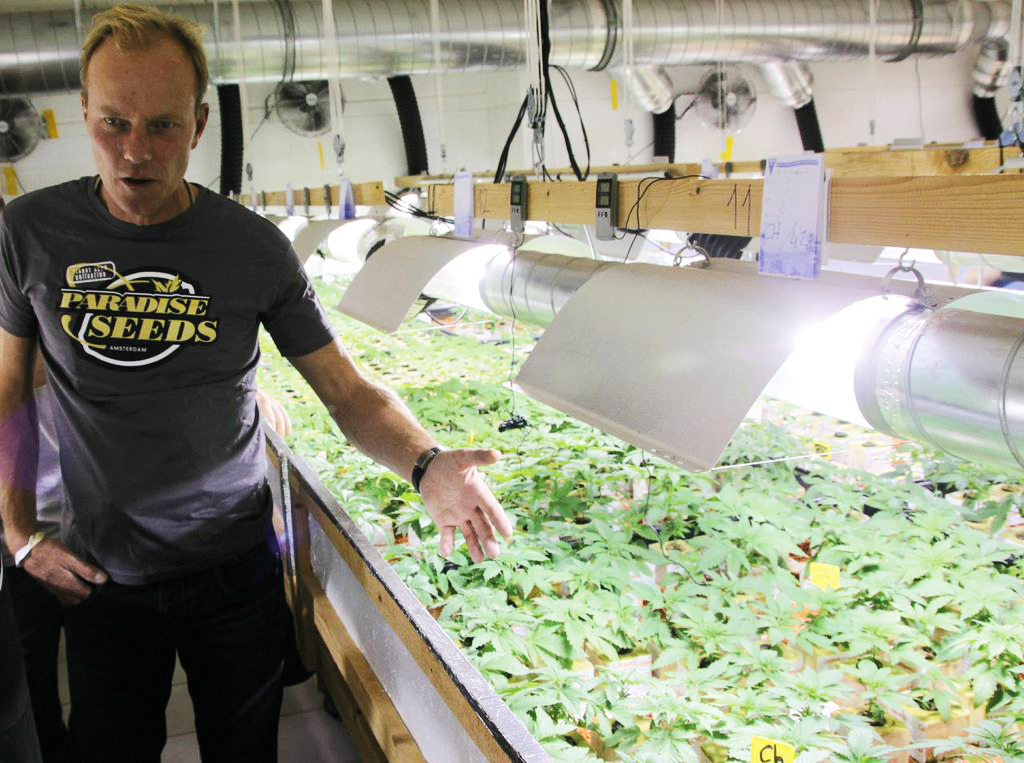
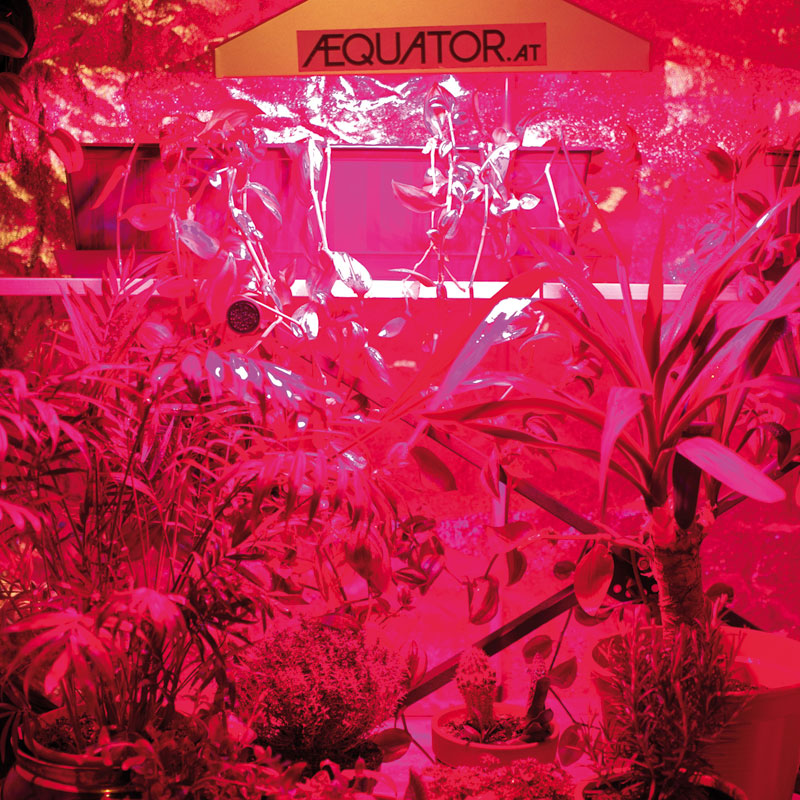
Lights
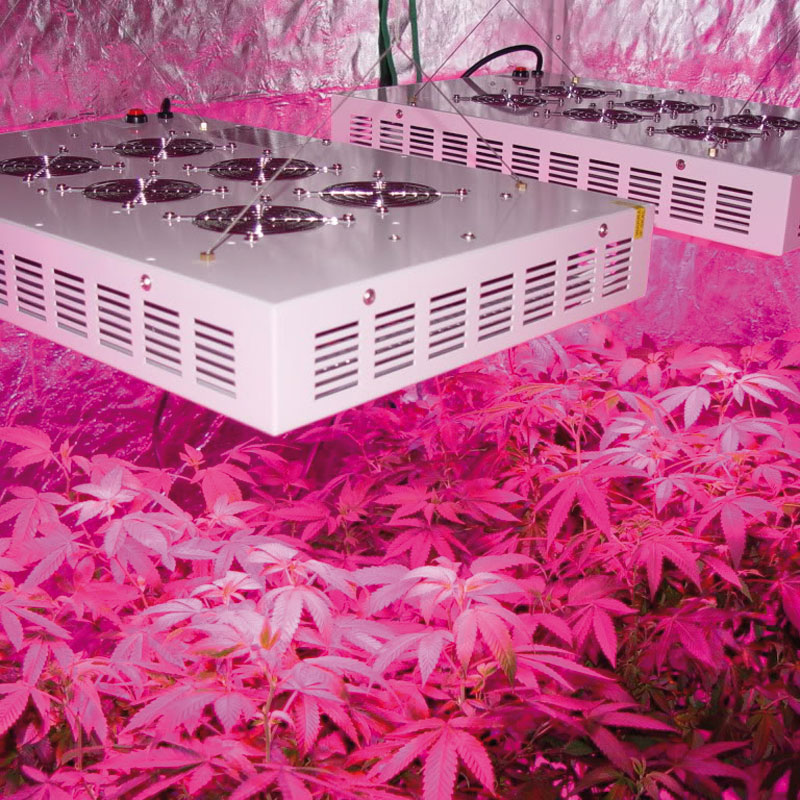
LED Penetrator
Metal halide, CFL, and HPS lights, are incredibly hot, and generally require significant air conditioning (carbon filters/extraction fans). The most efficient means of providing light is the use of an LED panel. Not only will your electricity bill be much lower, but the lights themselves can last for up to 100,000 hours (10-15 years of constant growing). LED almost entirely eliminates white and green light, but are expensive. One 300w panel is suitable for excellent coverage of a 1m x 1m space. For those on a budget I would suggest going for the 180w Pro Grow model from a few years back.
Odour Control
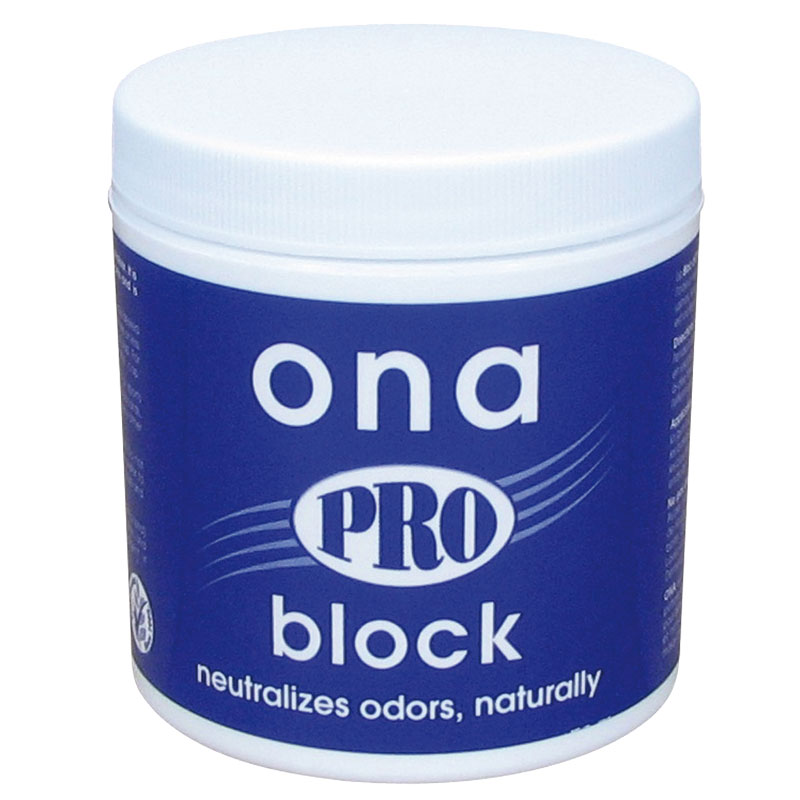
ona Block Pro – Kill the smell with ona block pro
If your room has a window with nobody likely to pass right outside, that’s good enough. What about the smell? Well, there’s a wonderful item called the Ona Block Pro, which neutralises anything you can throw at it. Just wait until a few weeks into flowering (they tend not to smell until this point) and put one of these inside your tent. You can have the lid slightly open, or fully off, depending on the level you require.
They last for 4-8 weeks each and mask odour perfetly. To extend their life once efficacy drops, you can typically cut them in half, poke holes through them, or even turn the block upside-down, and they’ll last even longer. On top of this it’s worth buying a few plug-in air fresheners which automatically release fragrance. Depending on your layout, you might have one in the room where you’ve got the tent, and another next to your front door.
Nutrients
Nutrients form a vital part of cultivation. There are entire ranges available from the likes of Canna, but many growers will tell you that it’s purely the vegetative and flowering (Aqua Vega, Aqua Flores) nutrients they use, perhaps with a touch of molasses in place of the ‘bloom’ booster which is added nearer the end of the grow cycle.
As with the soaking of rockwool cubes, when mixing nutrient solution it’s best to use tap water which has stood for 24 hours. Then add your nutrients to the solution before balancing the pH using an electronic pH meter. No matter which you buy they have a very short lifespan, so I recommend buying a relatively cheap option. For most plants, a pH of between 5.8-6.0 is considered optimal.
Seedlings
 To help seeds pop, once you’ve put them into rockwool you should use a heated propagation dome in order to maintain a warm, moist environment. If your climate is very humid you may find that they can go straight into the hydro system, although I think it’s good to give them a week or so in the propagator just to smooth their progress. Don’t feed them any nutrients at this point – simply ensure the rockwool is kept damp with water. If you notice the seedlings are stretching too tall, ensure they’re placed somewhere with better access to light. From seed to harvest, we want the temperature to be around 25c degrees (77 fahrenheit). Make sure you use a digital temperature/humidity device to help accurately monitor grow room conditions at all times.
Flowering
After 3-4 weeks of vegging under 18 hours of light, and 6 hours of darkness, we want to set the plants into flowering mode. This is done by simply adjusting the lights to be on for 12 hours, and off for 12 hours, each and every day. Also, we want to change the nutrient supply to match the minerals required to produce big buds. If you’ve gone the NFT route, one trick for emptying the reservoir is to put a hose/pipe onto your water pump and have it empty into a container.
In order to get every last bit out, you can place a couple of items underneath one end of the tank, and the water will rush down towards the other. Shoe boxes or bricks work perfectly well for this task. It’s recommended that you change the water at least every two weeks, in accordance with the nutrient dilution shown above.
Vegetative Growth
Once they’ve been added in your hydro system you’ll need to wait around 4 weeks with the lights lit 18 hours per day, on a timer for precision. The water/air pump should be running for as much of the time as possible, as should a fan. It’s important not to have the fan on too ferociously at this stage as the plants will still be weak. We’re looking for air circulation above all.
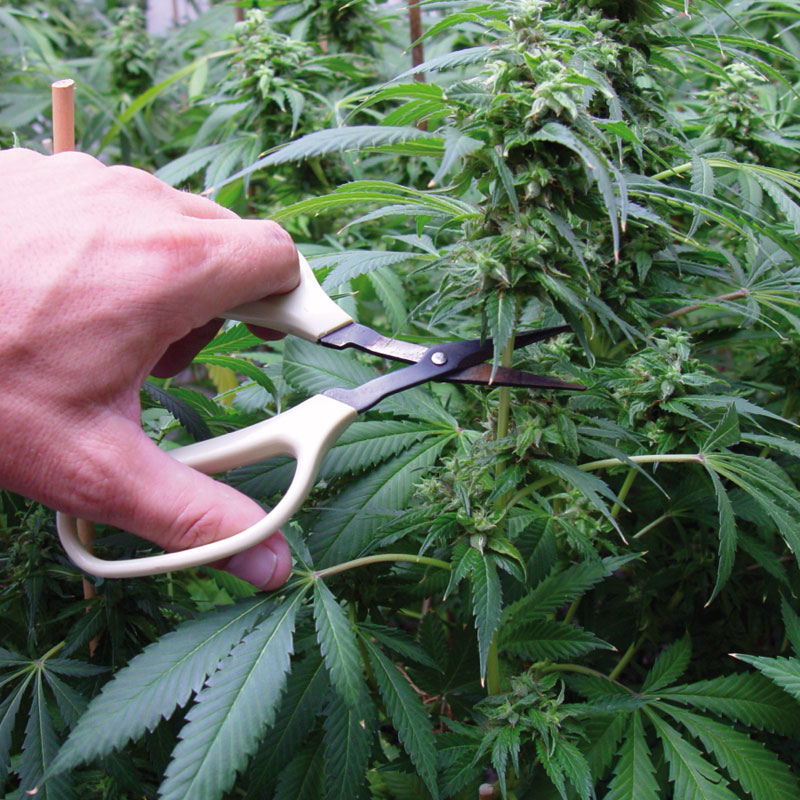
It’s key to prune your plants once they’ve acquired several sets of leaves. Anything which is unlikely to get much light should be removed, with the focus being on the tops of the branches, rather than potential bud sites all the way along. Look to ensure no more than the top 5 sets of leaves of a branch are maintained. Snip off any unwanted foliage and dead (significantly browning/dry) leaves using pruning scissors. If you wish to produce shorter, stockier plants, look into topping them.
Harvest & Curing
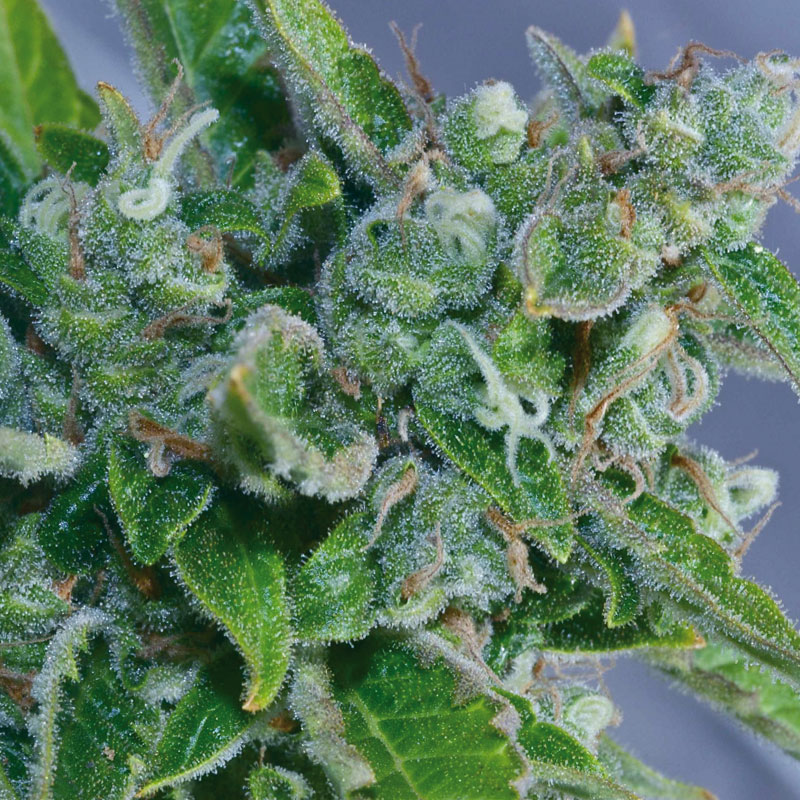
 Usually after 9-15 weeks of flowering your plants will be ready to harvest. As a guide, we want just over 50% of the trichomes to have turned amber in colour, else the bud won’t have full potency. For the last 7 days we only want to feed our plants pure, un-pHed water, so as to flush the existing nutrients out and get a better flavour. Once they are ready, carefully cut the branches away so you have small, manageable pieces to work with. We want to keep buds on the stem whilst they are drying (not a huge stem, just the adjacent few inches), as this facilitates the curing/drying process.
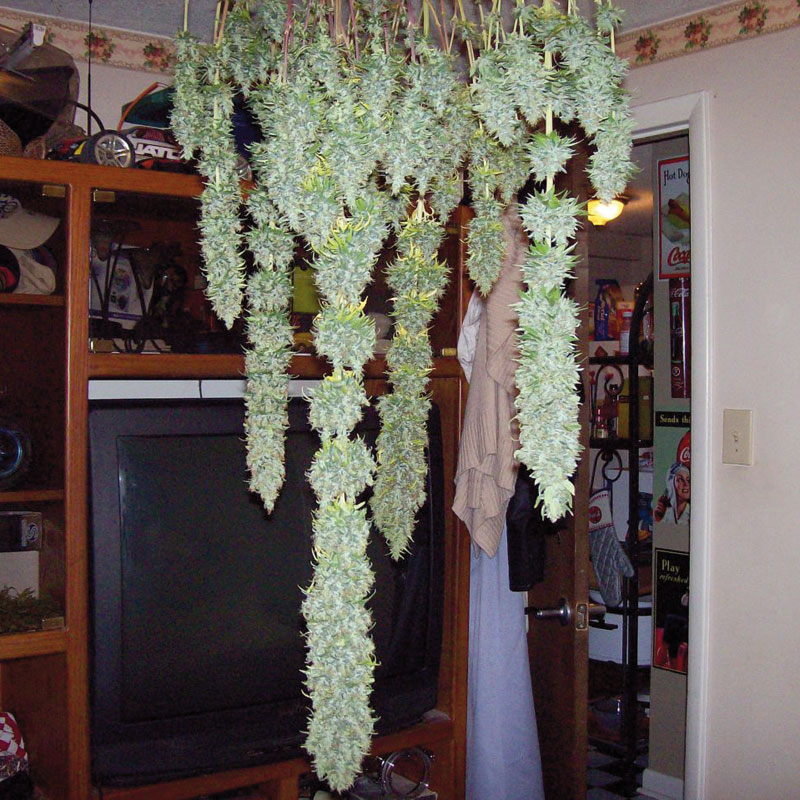
Trim leaves off as close to the bud as you can, without damaging the actual flower. It’s fine to have the small, immediate leaves left on. Once you’ve finished manicuring your plants, you need to give them about 5-7 days drying time, preferably somewhere that’s room temperature with good ventilation and no light. We don’t want anything too hot or too breezy, as fast-drying tends to lessen the quality and flavour. An ideal solution is to use a drying net, which can be hung anywhere.
 Once the branches are almost to the point where you can snap them, that means they’re dry enough and you can move everything to mason jars. For the first couple of weeks we want to keep these completely sealed, aside from an hour a day when we lay the contents out on a plate to let excess moisture escape. After a fortnight the frequency of this airing process can be reduced to 15 minutes every other day. If you find that the buds are still wet, leave them out for a longer period. We really want to avoid mould caused by damp, as that will completely write-off your weed.
You can use it at any point after this, but the longer you leave it to cure, the better the flavour, the smoother the smoke, and the more developed the content.
www.thecannabisgeek.com [dpSocialTimeline skin=”light” total=”10″ items=”{‘name’:’facebook_page’,’data’:’382622601781079′,’limit’:’20’}” showFilter=”0″ showLayout=”0″ itemWidth=”47%”]